

Once the frets have been corrected, the strings requested by the customer can be fitted.
The customer’s lowest tuning pitch of the strings, together with the gauge of string used is all-important because a customer who plays with the occasional ‘drop tuning’ will need it set to the lowest string tension. By doing things this way the instrument can still played with slackened strings - the lowest tuning. Do it the other way round and the strings will buzz as the fretboard straightens out.


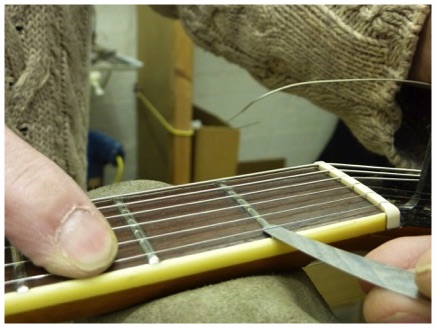
Having set the relief, the string height at the nut needs to be adjusted.
This is an area where people often make mistakes by cutting the slots too low. If this happens, the action has to be raised to stop the strings buzzing on the 1st fret - which defeats the whole objective of the set-up and is plainly wrong! The only cure for this is to fit a replacement nut!
I have seen websites showing the use of fancy ‘dial gauges’ for this work but it is a bit of an overkill for a procedure that really only needs ‘feeler gauges’. I do have dial gauges but choose not to use them as the feeler gauge does what it says and allows the user to feel the gap.
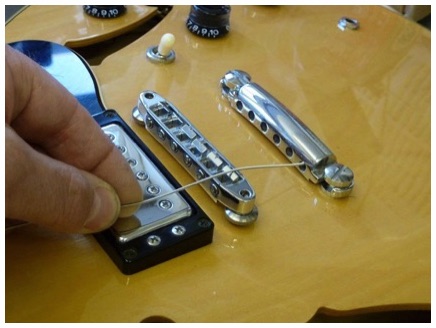
One of the first things I did when starting the Pro Set-up was to lower the pick-ups. This was initially to prevent damage but also stops the dampening effect to the strings by being set too close.
If the pickups are set too high it also affects the intonation and then the saddle has to be falsely moved forwards to correct this - however the problem only gets worse as the player moves up the fretboard thus moving the string ever closer to the pick-up.
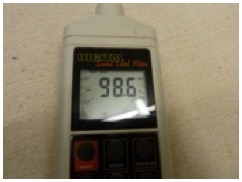
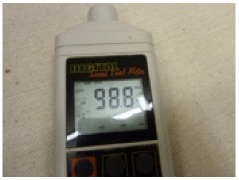
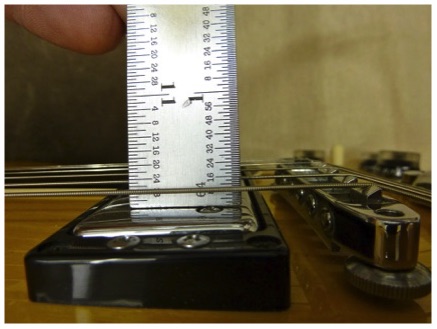
Here, the pickups are initially set about 1/8” (3.2mm)away. I use a Decibel Meter to check that the volume is equal on both pickups. In fact, I set the bridge a fraction closer (or neck further away) as this gives the impression of them ‘sounding’ the same.

I saw one video explaining the dial gauge method as allowing optional string height in discussion with the customer but, as there is a point were the height cannot be lowered, discussion is pointless unless setting the action high for slide guitar playing.
Recommended feeler gauge settings can be obtained from the Tusq Website.
Eventually, with the radius the same as the fretboard, relief corrected, pickups set, and the strings at the desired height, the intonation can be set. One thing that many people get caught out with is using the wrong pickup. If the guitar has two pickups, use the neck one for tuning as this gives the fullest and most rounded sound. Using the bridge pickups can be open to errors caused by harmonics. When a guitar has only a bridge pickup, rolling off some of the tone will help.
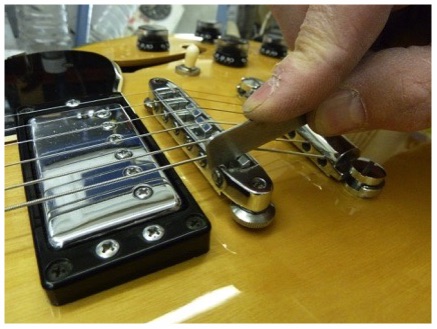
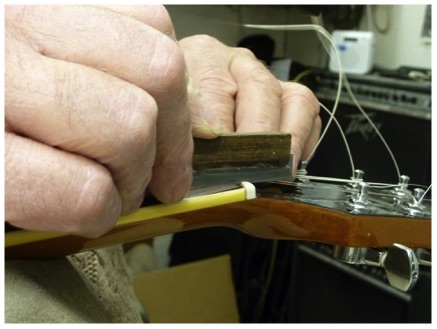
Now that setting the nut height is completed the radius of the strings can be set. This should mirror the fretboard radius. On a Les Paul it’s easy to set the 1st and 6th string and check the 2nd to 5th string height but on a Stratocaster they have to be set individually.
Here, the 6th string was too high compared to the others so the same nut slot files are used to adjust the bridge saddles to the correct radius. (It could be said that the 3rd and 4th strings were too low but as metal cannot be put back the 5th and 6th were lowered to correct the radius).
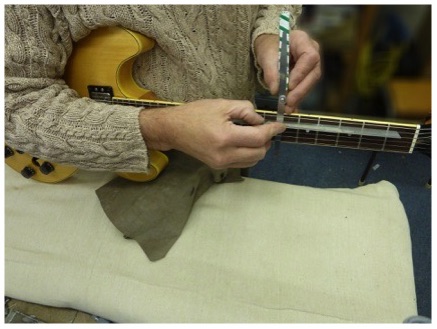
Here the Treble side is set using an open D chord. Then the Bass side is adjusted - this time using the E chord. Then the treble is re-checked to see if it is changed. The bass is always louder on these strummed chords. In the case of adjustable pole pieces each pickup is checked for string voicing and again the meter is set to collect this data. With the pickups set it’s time to trim the strings at the headstock and put the guitar away for 24 hours.

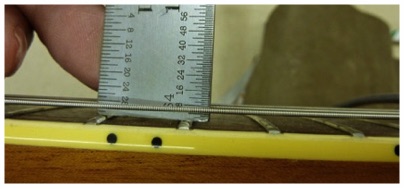
Finally, the action height can be set in accordance with a rough intonation setting. It must be remembered that the higher the strings are set, the further back the saddles will be
Way back at the start of the set-up I lowered the pickups to prevent damage. This is also useful as it prevents magnetism having an affect on the string height - although this is less so with humbuckers.
If you’re setting the action low - let’s say lower than the original set-up - the saddles will most likely need to be moved forwards - assuming the intonation was correct in the first place.
It’s always worth checking the state of the saddle tops as the strings can cut their way into the metal. When this happens the sound is dull and muted. When the string has a smooth top and free movement there is less likelihood of string breakage and the sound rings clearly off the top of it.
There is a double effect when flattening the intonation on Tremolo guitars such as a Stratocaster - ones that have the fulcrum plate at an angle. This is because, as the saddle moves backwards, it slightly raises the action height of that saddle as it moves ‘up hill’. This has to be compensated for by lowering the height to where it was set.
Open D Chord used for the treble side balance
Open E Chord used for the bass side balance
Enter Text
BASS
TREBLE
BASS
TREBLE
This takes you to Completion

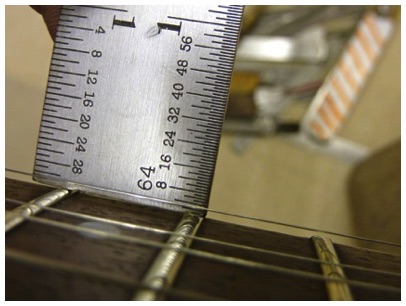
Once the strings are tuned to pitch the first thing that needs to be set is the relief in the neck. When I did ‘Standard Set-ups’ for retail shops I formulated an amount of relief that dealt with accepting the manufacturers fret level and, of course, this required a higher set action height.
Here we are setting the action low and measurement/adjustment of the relief is done in the ‘playing position’ - not lying flat down on the bench - for the same reason as mentioned in levelling the frets. My trusty straight edge is used again in conjunction with feeler gauges.
The Standard Set-up
If you have come to this page without seeing the fret levelling and re profiling done within the 'Professional' part of the set-up you will not appreciate the extra work that has gone into making the following procedures work. To view the start of the process, go to “Set-up Explained" button at the top Menu.
As it has been said in the 'Home Page' introduction, the Standard/Ordinary Set-up tries to achieve results without dealing with fret undulation. However, the following captions show the final processes through to completion of the 'Professional set-up'. The difference here is that the final outcome can be predicted - this to say a good action and not a compromised.